Enums
On this page:
- What Are Enums?
- Viewing Enums
- Setting Enums
- Setting Up Enums via CSV Upload
- Setting Up Enums Manually
- Editing Enums
What are Enums?
Enums (enumerated data types) are lists of constants (or variables) with a set of predefined values that represent numeric or textual data. They function as value replacements that reference an ID or acronym in place of a full word or a complete phrase.
Each variable must be equal to the value that has been predefined for it. For example you might have a sequential ID stored in your database (e.g.: 1, 2, 3) which correspond to values that are returned (e.g.: complete, waiting, incomplete).
Viewing Enums
Access enums through the "Manage Database" section of the Integrator Portal. Here, you can review and manage the enums that have been set, search by tables, search by columns within tables, and add new enums.
Search for a specific table in your database quickly and easilyWhether you're in the Active Enums tab or the All Enums tab, simply type a table name into the search bar (located on the top right hand side of the screen) to quickly locate the table you're looking for.
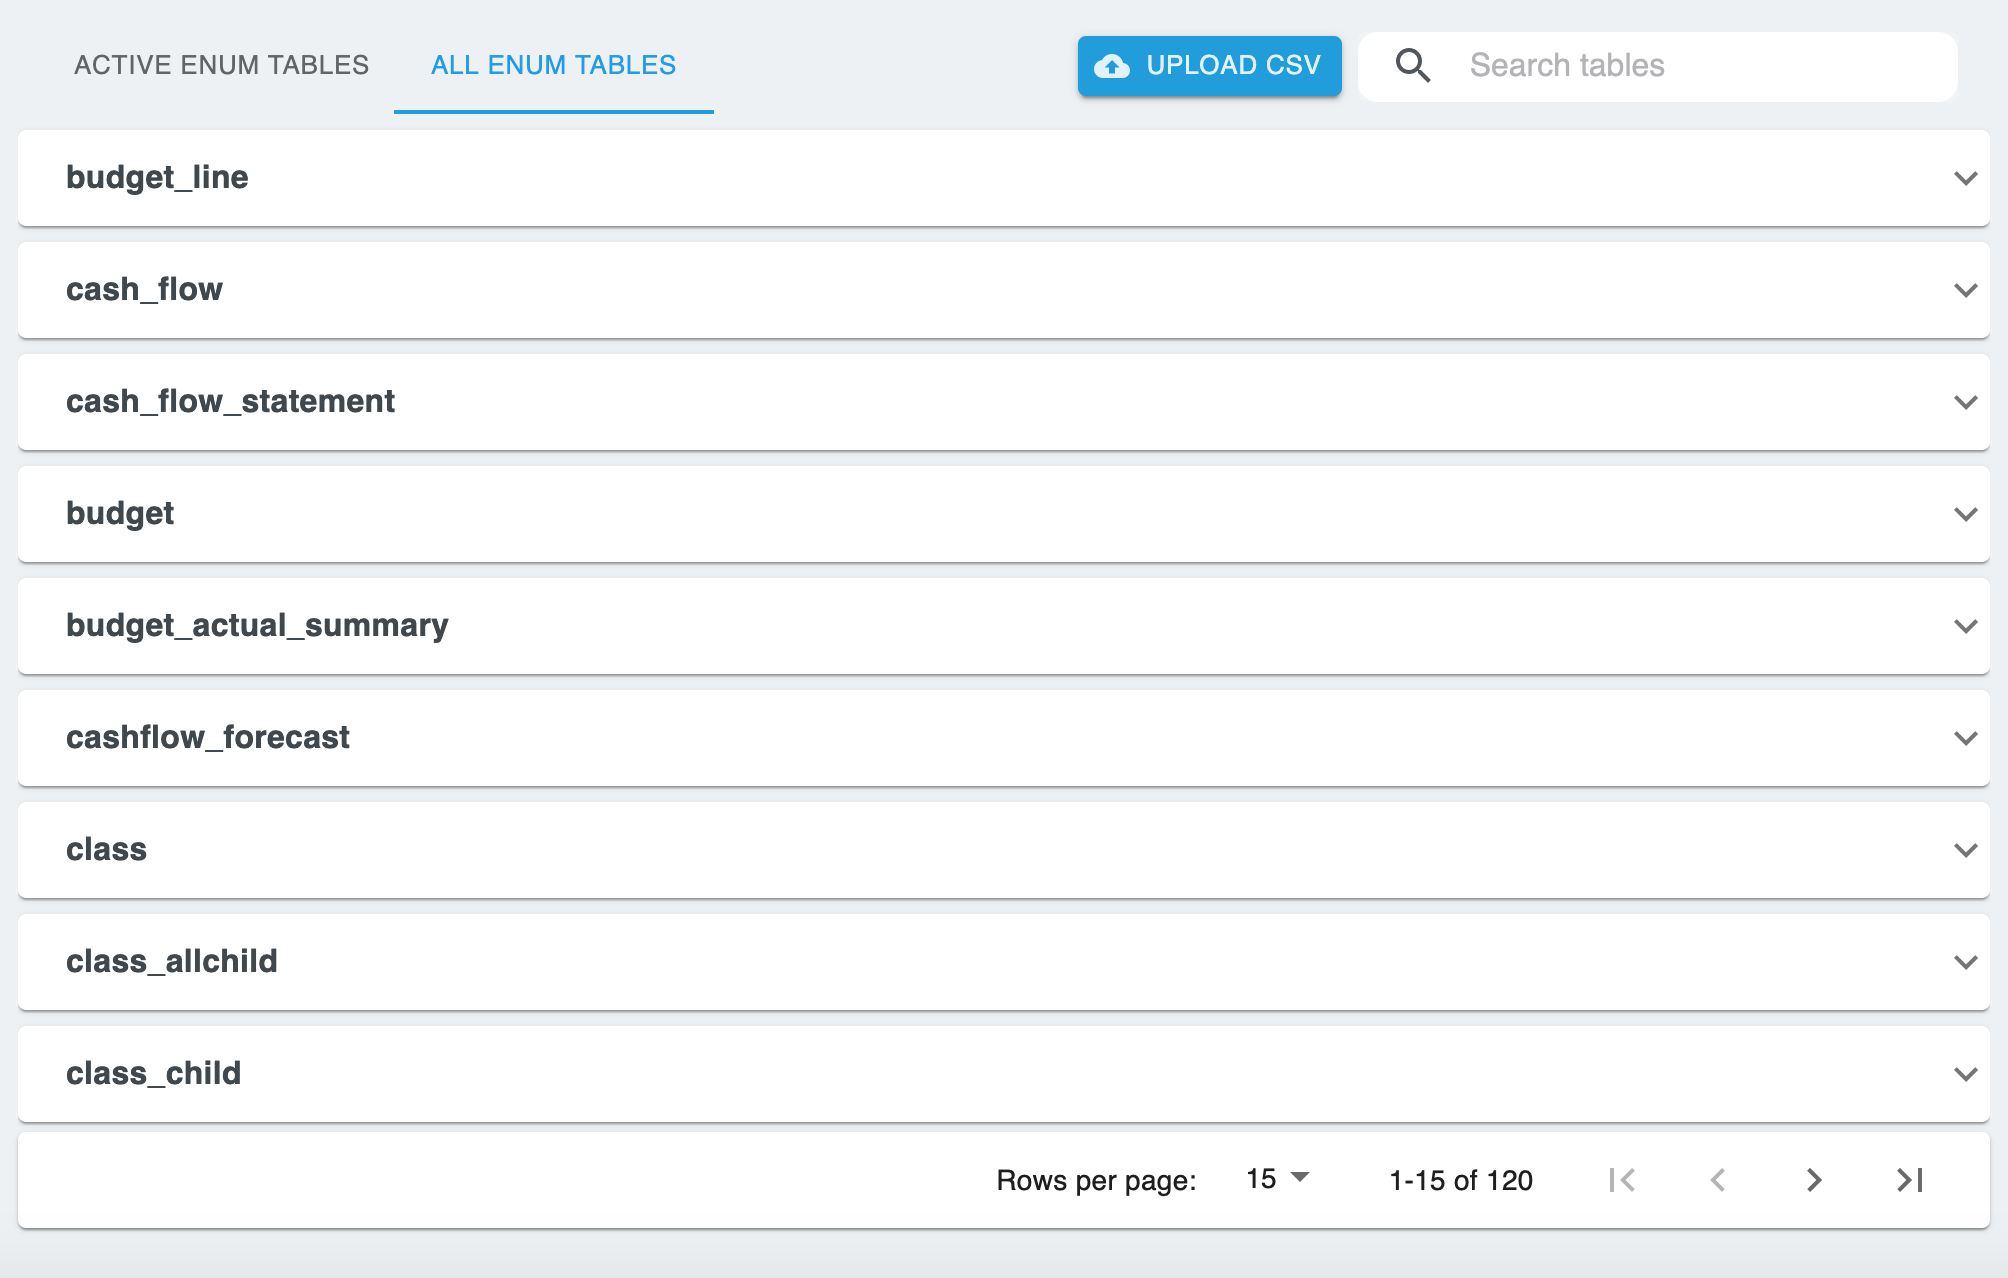
In this section of the Portal, you'll see two tabs:
- Active Enum Tables
- All Enum Tables
Active Enum Tables - This tab displays a list of all of the tables in your database that contain enums that have been defined/set.
Click on any table to expand the card and view all of the columns that contain set enums within that table. Here, you can edit and delete enum values and add new enums (the process of managing/editing enums once they have been set is covered later in this doc).

All Enum Tables - This tab displays a list of all of the tables within your database.
Only enums are displayed, no additional database table info is made availableOnly the database structure is accessed in order to provide this view in the Portal. Aside from enums, no additional information contained within the database is displayed here.
Here, you can search by table, search by column within a table, and add new enums.
Setting Enums
Adding enums, editing enums, and deleting enums can all be done in the Portal.
Prior to setting up any enums, you will be met with the screen below:
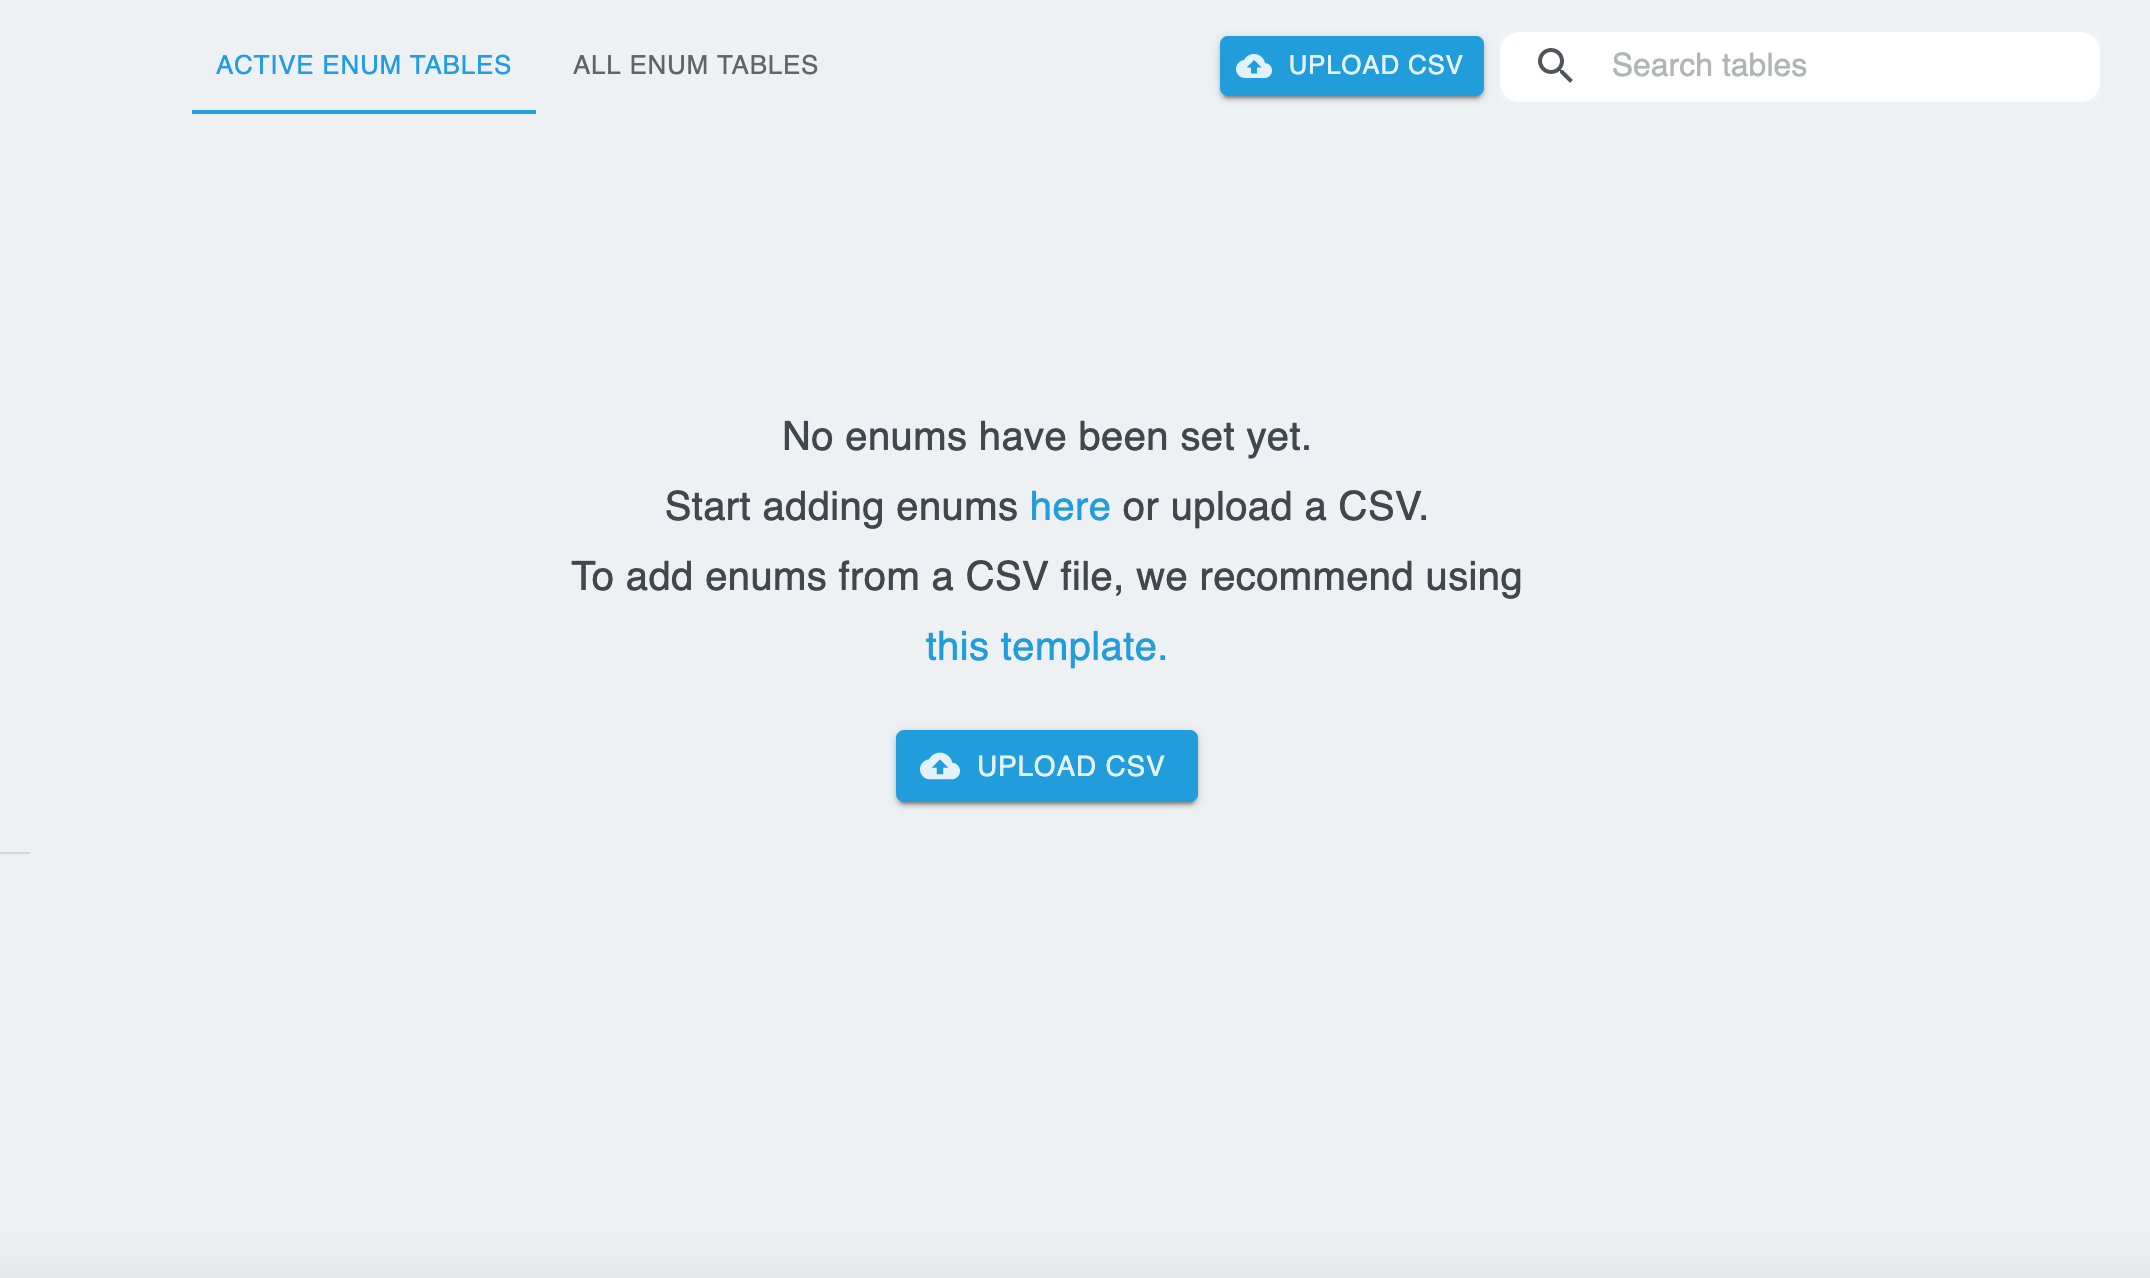
You have two options for setting up enums:
- Set up enums in bulk using the CSV upload option in the Portal
- Set up enums individually/manually through the Portal
Setting Up Enums via CSV Upload
To batch upload enums, begin by downloading the template provided in the Portal, or create your own file that contains the six columns outlined below.

An example of the CSV file template
To upload enums in bulk, leverage the template or create your own file containing the following six columns:
- table_name - The name of the table in the database
- column_name - The name of the column within that table
- value_type - The attribute type for the value assigned to your enum (int/String)
- name_type - The attribute type for the name assigned to your enum (int/String)
- value - The value label for your enum
- name - The name label of your enum
Once you're happy with your CSV and all columns have been filled out properly, save your file as a CSV.
Be sure to include and fill out each of the 6 columns (outlined above) when adding enums via CSVAll columns must be filled out for each new enum value you wish to set.
Enter the Portal (Manage Database >> Enums) and click the UPLOAD CSV button. Then, select the appropriate file from your file explorer and click DONE to upload your CSV. The updated table cards containing the newly-set enums will populate in the ACTIVE ENUM TABLES tab view.
Setting Up Enums Manually
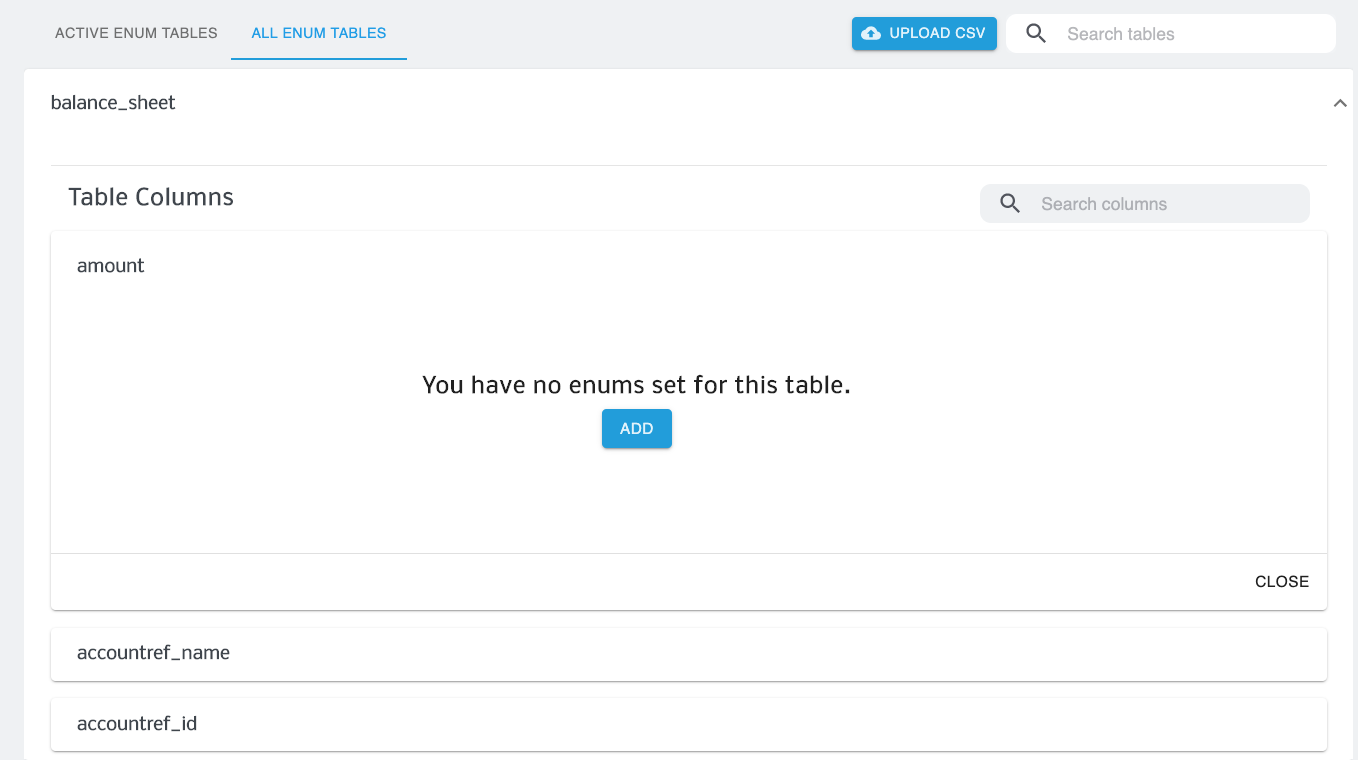
To set up and manage enums manually in the Portal, begin by selecting a table from your ALL ENUM TABLES tab. This will expand the card, enabling you to view all of the columns within that table.
Scroll through the list of columns or search for a specific column using the search bar on the right hand side. Then, click on a column to expand the view.
If no enums have been set yet, click ADD and follow the prompts provided.
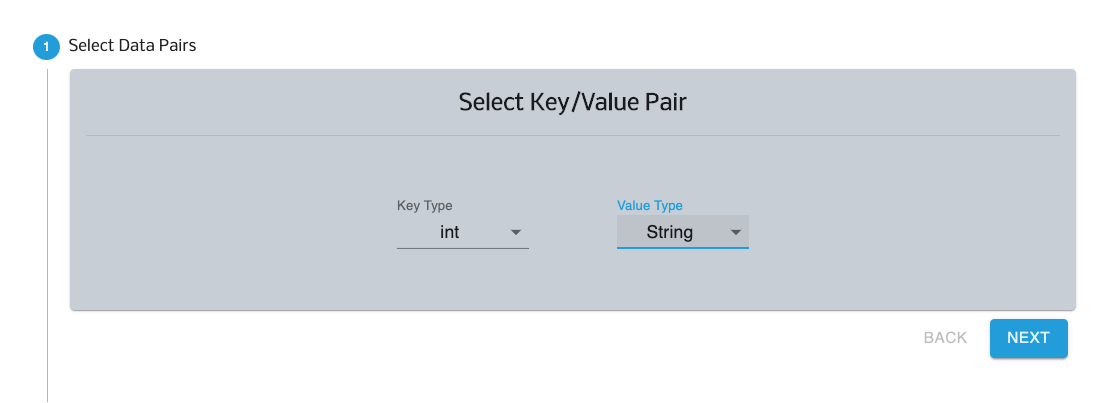
First, select the appropriate key type and value type and click NEXT.
Then, click the (+) icon to begin manually adding a new enum value.
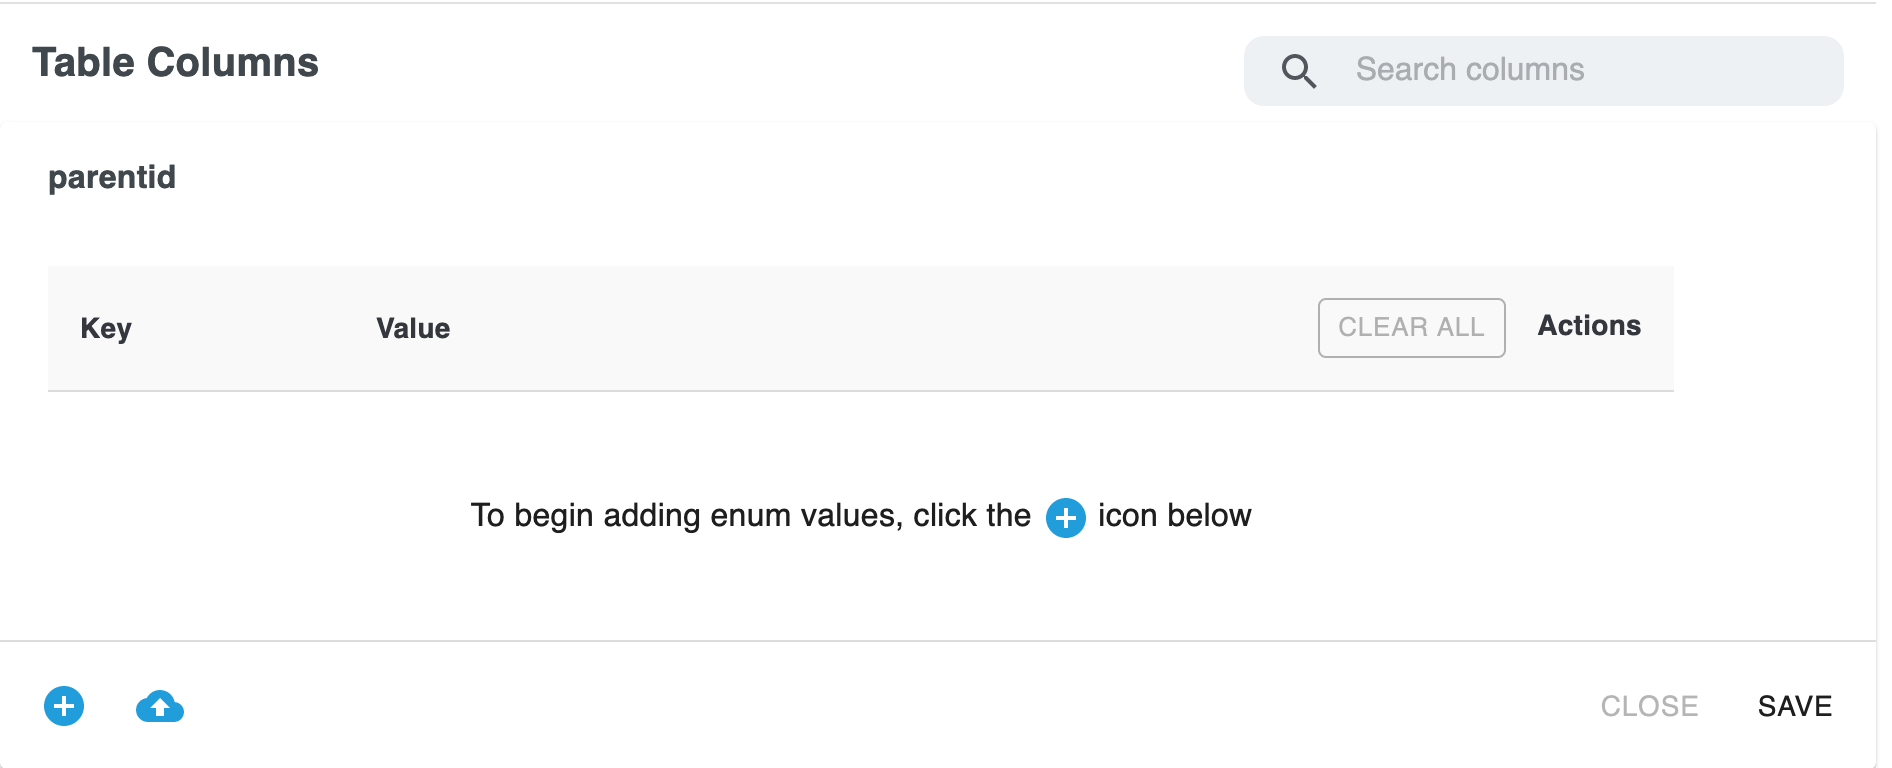
Enter a key-value pair.
Click the (+) icon to add another row if you wish to input additional enum values.

Click SAVE to finish adding your new enum(s). All of the defined values will be stored for use. The updated table cards containing the newly-set enums will populate in the ACTIVE ENUM TABLES tab view.
CLEAR ALL will remove all values and return the column to an empty state.
Editing Enums
At any time, you can edit the key-value pairs that have been set up. To do so, navigate to the ACTIVE ENUM TABLES tab.
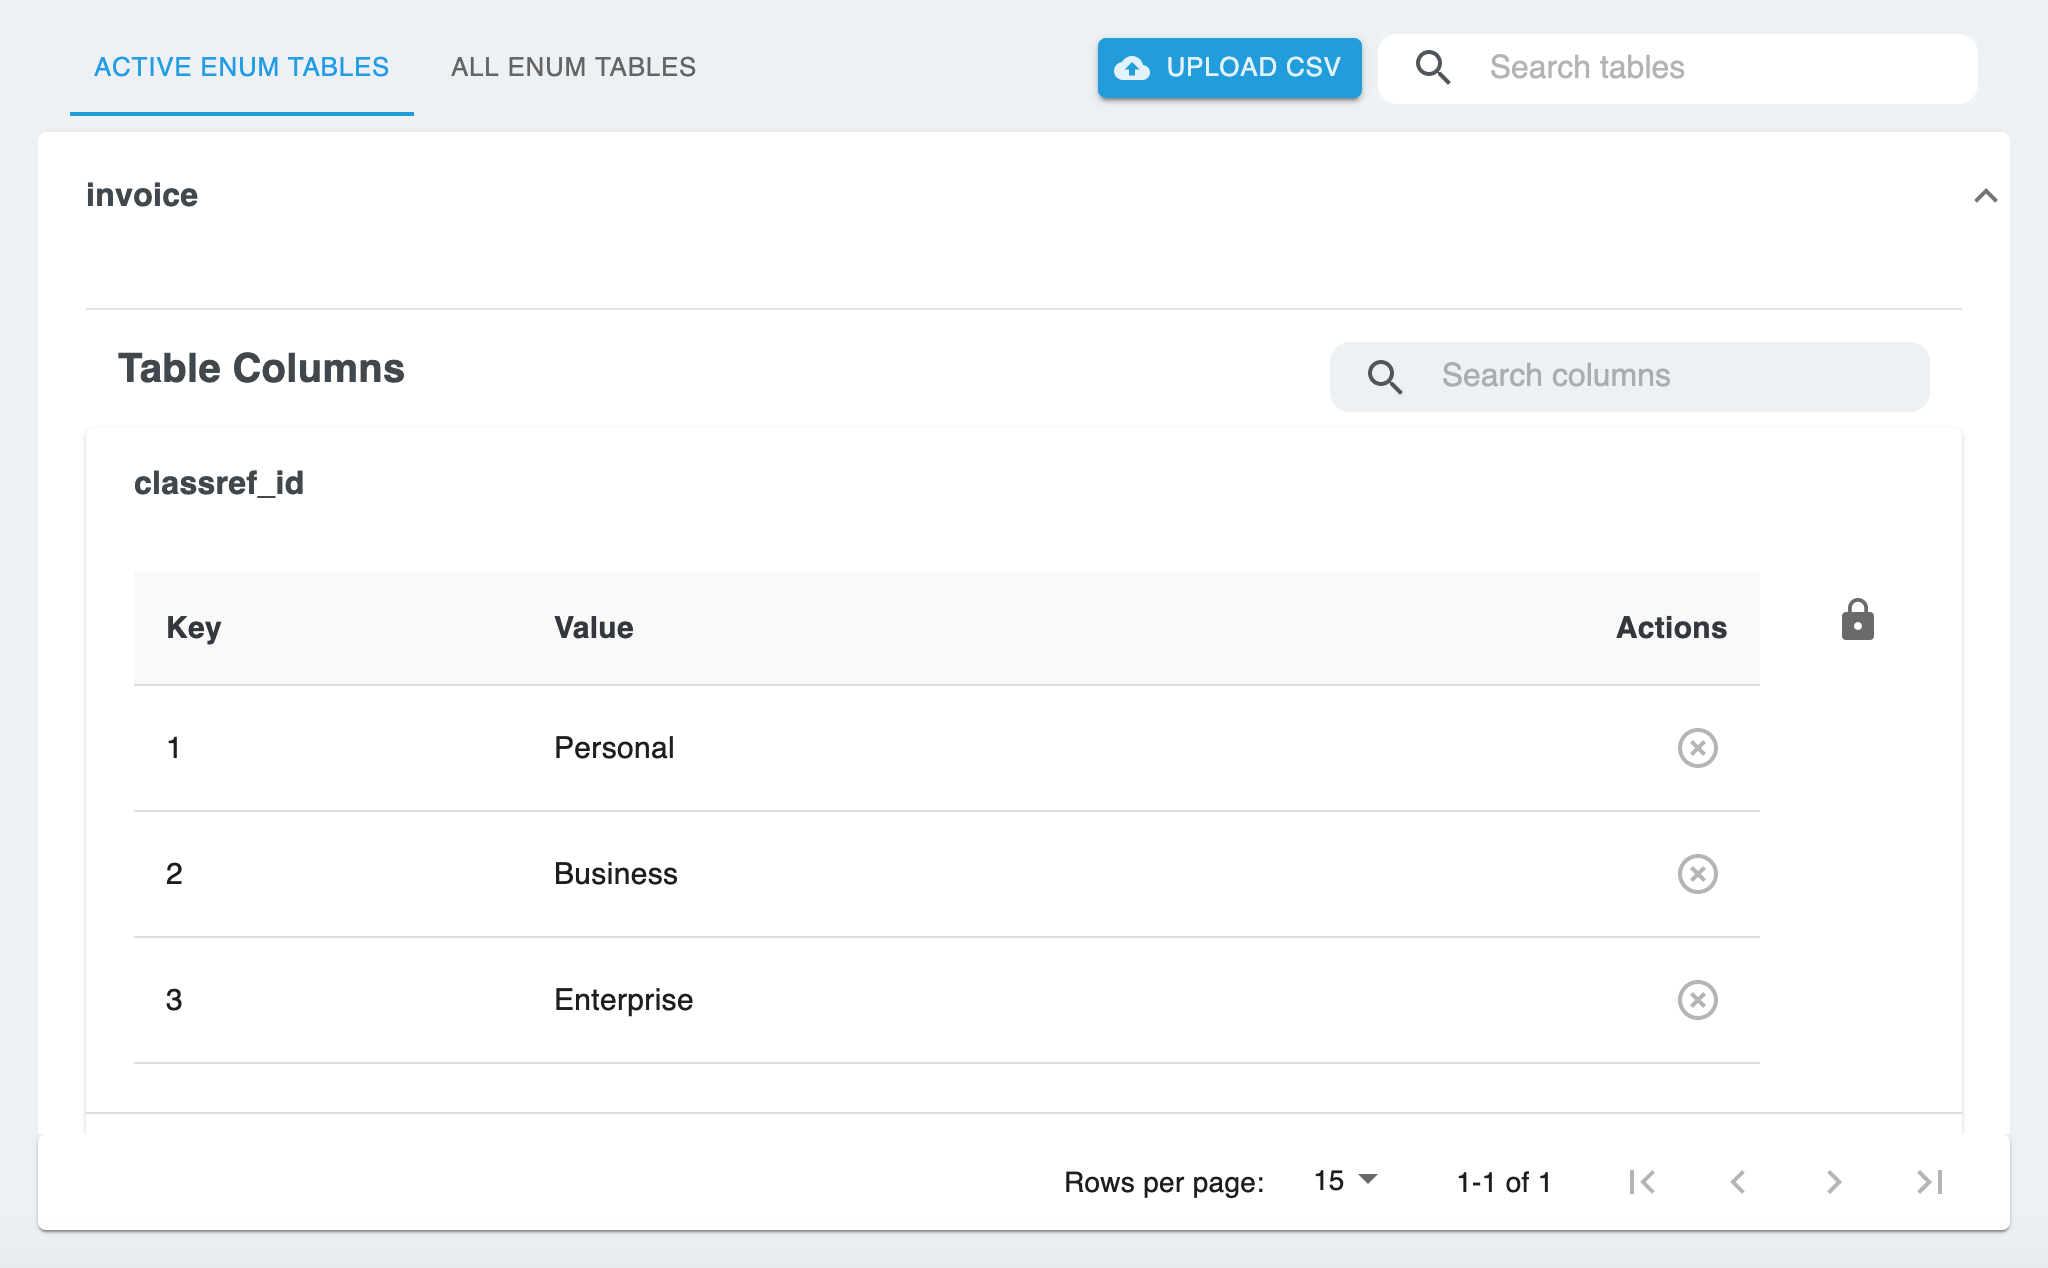
Determine which enum(s) you would like to make changes to. Then, click on the table and associated column and enter "edit mode" by clicking on the lock icon on the right side of your screen.
To edit an enum that has been set, you must unlock edit modeClick the lock icon to make changes to enums that have been set.
Once you're in edit mode, you can make changes to enums that have been set up. Here, you can edit the Key and/or the Value, and remove enums that have previously been set.
Click SAVE to finish editing your enum(s). All of the defined values will be stored for use.
Updated 5 months ago
