Quick Start
Looking to get started quickly? Here, you'll find an overview that shows you how to get set up and started with AutoQL, using Data Messenger as our frontend implementation example.
Once you are connected to your own database, you will need to authenticate with our API using an API key, custom API domain, and a Json Web Token( JWT).
We have included the additional code needed (commented) when connecting to your own database.
For each step in this process, select the tab that corresponds to your framework of choice (React or Vanilla JS) and copy/paste.
Step 1: Install AutoQL
Look here for the most recent installation instructions
Step 2: Embed the Data Messenger Widget
Now that you've installed AutoQL, it's time to add it to your frontend.
In this example, we'll show you how to embed Data Messenger, however you're free to embed any of our open source widget offerings using your preferred library. Instructions for implementing each widget are included in the "Building a Conversational UI" section of these docs.
To successfully embed Data Messenger, see below:
Don't forget the CSS in React!For the React widgets, you will need to import the style sheet manually. See code sample below for more details.
import React, { Component } from 'react'
import { DataMessenger } from 'react-autoql';

import 'react-autoql/dist/autoql.esm.css'

export default class App extends Component {
  state = {
    isVisible: false
  }

	onHandleClick = () => {
   this.setState({ isVisible: !this.state.isVisible })
  }

  render = () => {
    return (
      <DataMessenger
      	authentication={{
          token: 'yourToken',
          apiKey: 'yourAPIKey',
          domain: 'https://[email protected]'
        }}

        isVisible={this.state.isVisible}
        onHandleClick={this.onHandleClick}
      />
    )
  }
}
import { DataMessenger } from 'autoql';
var dataMessenger = new DataMessenger('#data-messenger', {
authentication: {
token: 'yourToken',
apiKey: 'your_api_key',
domain: 'https://yourdomain.com'
}
})<body>
<div id="data-messenger">
</div>
<script>
var dataMessenger = new DataMessenger('#data-messenger', {
authentication: {
token: 'yourToken',
apiKey: 'your_api_key',
domain: 'https://yourdomain.com'
}
})
</script>
</body>Step 3: Customize
There are many different options available that allow you to customize your implementation of Data Messenger (or any of our other widgets).
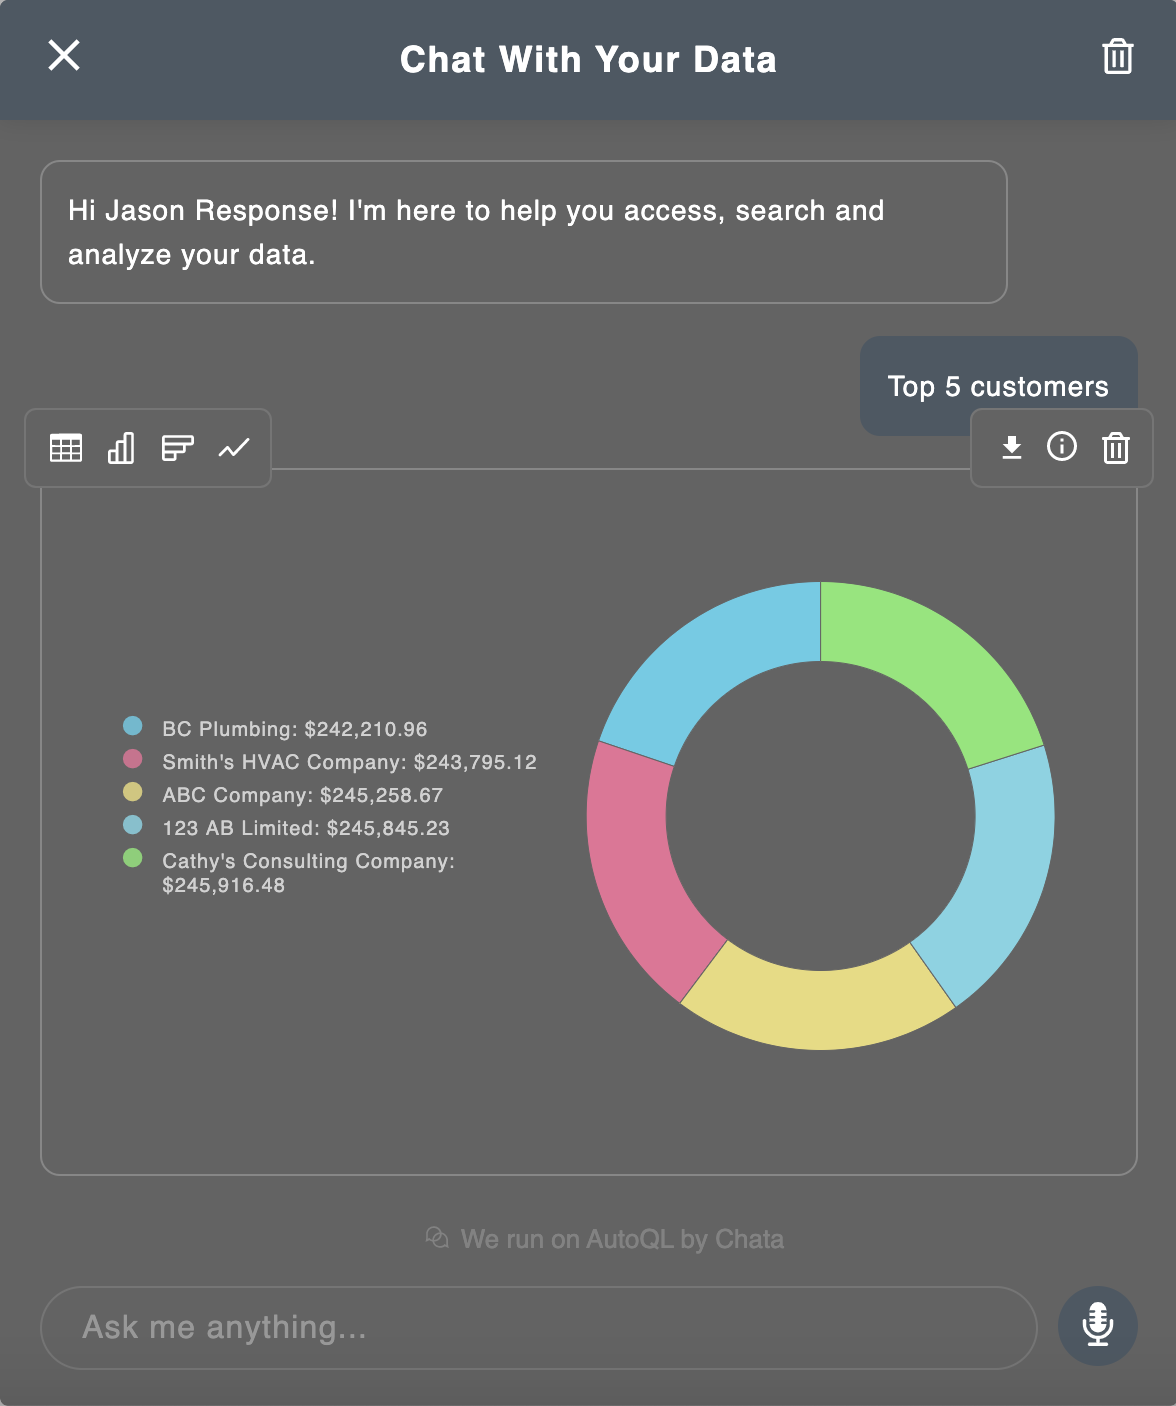
Below are just a few examples of theme and copy customizations:
<DataMessenger
  // ...

  themeConfig={{
    theme: 'dark',
    accentColor: '#4C5863',
    chartColors: ['#54DEFD', '#FF729F', '#FFF07C', '#7EE8FA', '#80FF72']
  }}

  title="Chat With Your Data"
  customerName="Jason Response"

  resizable={false}
  width={600}
  enableQueryInspirationTab={false}
/>
dataMessenger.setOption('authentication', {
apiKey: 'yourAPIKey',
domain: '[email protected]',
token: 'your-token',
})
dataMessenger.setOption('enableExploreQueriesTab', false)
dataMessenger.setOption('maxMessages', 6)
dataMessenger.setOption('themeConfig', {
theme: 'dark',
accentColor: '#4C5863',
chartColors: ['#54DEFD', '#FF729F', '#FFF07C', '#7EE8FA', '#80FF72']
})
For a complete list of customization options for Data Messenger, visit React Data Messenger or Vanilla JS Data Messenger
Updated 5 months ago
